IN THIS ARTICLE
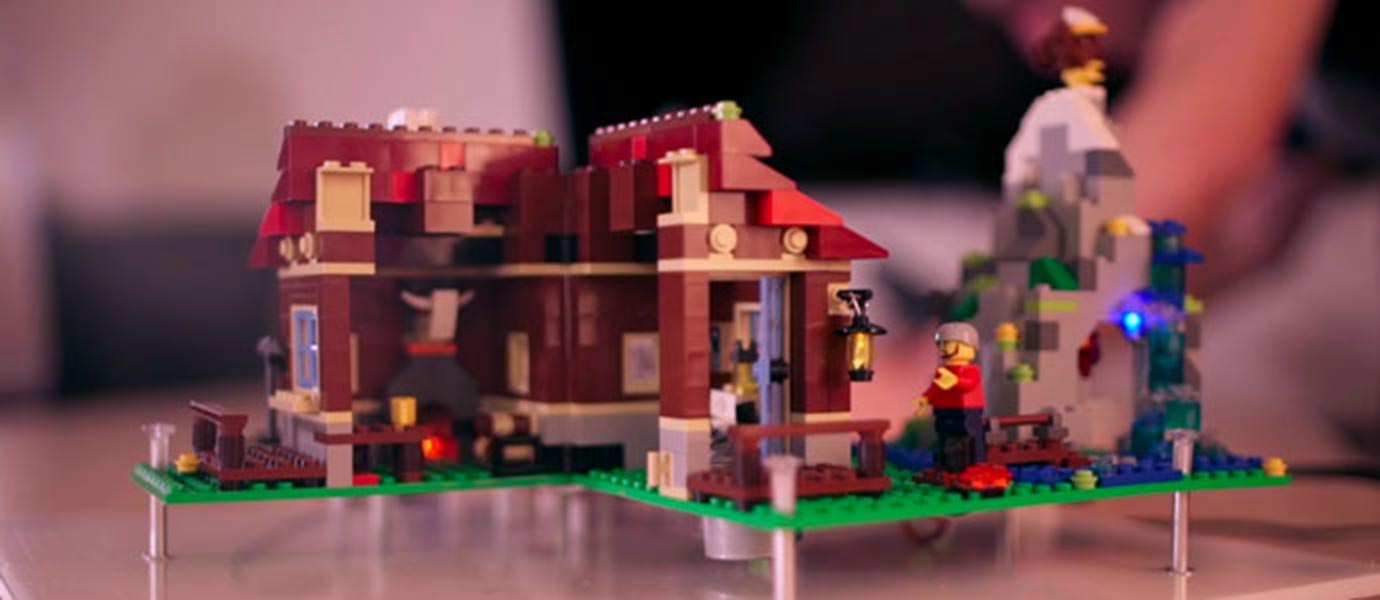
We’ve done it with Arduino, and now we did it again with Raspberry Pi. That’s right, introducing the Raspberry Pi-Powered Future House!
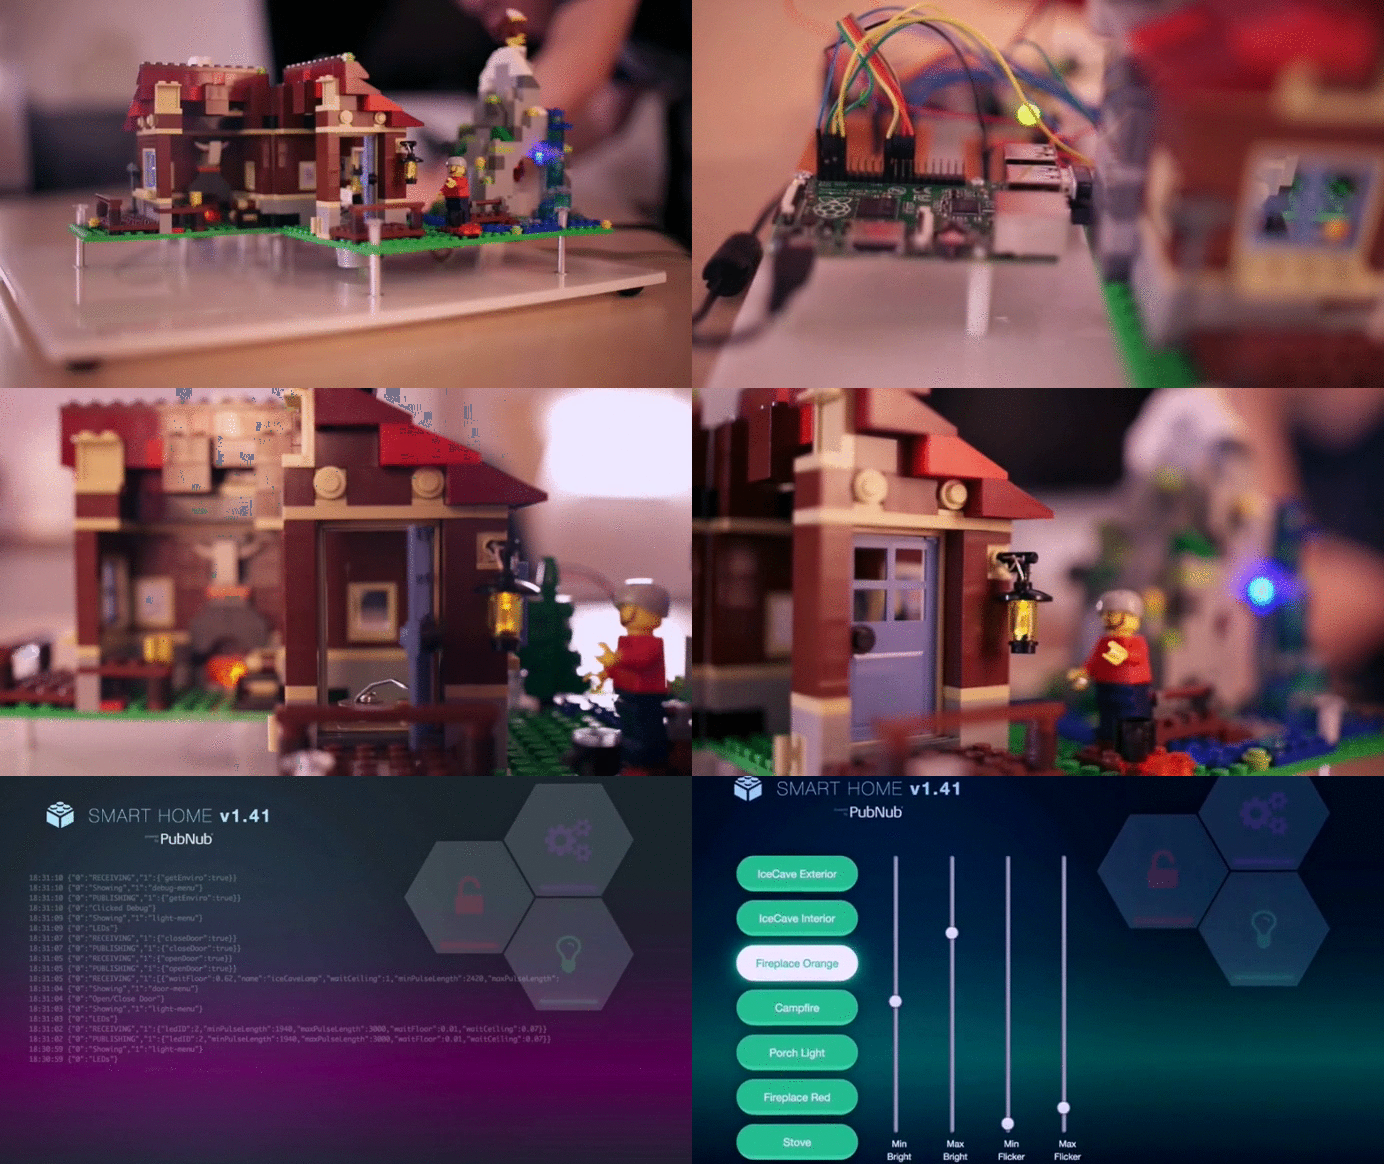
Running on a Raspberry Pi Model B+, the house boasts seven embedded LEDs, a couple of sensors to measure humidity, barometric pressure, and temperature, and a stepper motor that remotely opens and closes the door.
We have a full tutorial on building the house:
- Part One: Collecting and Streaming Weather Data, Control Dashboard
- Part Two: Controlling LEDs from a Remote Control Web UI
The house is figuratively glued together using PubNub, allowing us to publish messages into the house to request on-demand readings from the sensors. Additionally, PubNub powers the remote configuration for the smart home, enabling users to trigger the LEDs and control the front door. We can also request the current state of the house, including voltage and intensity levels.
But the most valuable part of the Raspberry Pi-Controlled smart home is its showcase of the missing link in a lot of IoT applications and projects; powering an easy way to stream data in and out of an embedded device.
Project Overview
The project is includes both the hardware (the house, Raspberry Pi, and accessories), and software (an interactive GUI). This blog post is the proof-of-concept and high level introduction to the project. We have deep dive tutorials for our Raspberry Pi house, available here:
The Hardware: Raspberry Pi
The house runs on a Raspberry Pi Model B+, and makes heavy use of the I2C bus. The I2C bus powers the barometric pressure sensor, as well as the PWM controller to power the LEDs.
We’re finishing up our full tutorial for the Raspberry Pi hardware part of the project. It’ll walk you through setting up your Raspberry Pi, getting it connected to the Internet for remote configuration, and connecting it to LEDs and sensors.
The GUI: Control Dashboard
The dashboard gives a user complete control and monitoring of the Raspberry Pi smart home. In addition to basic controls including turning on and off lights and opening the front door, the GUI goes a step further. We can adjust the intensity/flickering of the lights and monitor the overall state of the house. The dashboard also streams sensor data in realtime to a single, easy to digest dashboard.
All communication between the Raspberry Pi smart home and the GUI control dashboard is powered by PubNub, and the GUI uses Blink by The Chromium Project as its rendering engine.
We’re also finishing up our tutorial for building the GUI for our Raspberry Pi smart home. The tutorial will show you how to build the GUI, and connect the control dashboard to the Raspberry Pi. The GUI uses remote configuration, so you can trigger and stream device actions anywhere you’re connected to the Internet.
Wrapping Up
For both hobbyists and IoT developers, the Raspberry Pi smart home is a great project for getting up and running with a fully-featured IoT implementation, both on the software and hardware side. In this case, you can boot the house up and have it connected to WiFi, and have it publish messages out to you, so you don’t have to continuously poll for it.
From a communication standpoint, it’s all bidirectional. You can trigger actions on the home, and have the house stream its data back to the dashboard. And that’s why PubNub is essential as a realtime messaging layer on IoT projects.
Want to build it youself? We have deep dive tutorials for our Raspberry Pi smart home, available here:


