IN THIS ARTICLE
PubNub Functions makes it easy to route, filter, transform, augment, or aggregate realtime messages that are transmitted over the PubNub Data Stream Network. With PubNub Functions, you can take precise control over your messages without routing messages to your own server or making your application more complex.
In this tutorial, we’ll be using PubNub Functions to prevent multiple push notifications being triggered from a Smart Doorbell app built in React Native and a PubNub-powered IoT smart button. You can use this tutorial as a guide to shape data and messages in any PubNub app.
In our Smart Doorbell app, a user can press a smart button to trigger a remote push notification, but nothing stops a user from pressing the button repeatedly. Using PubNub Functions we will implement logic within the PubNub Network to remove the push notification keys from the message for messages sent less than 30 seconds from the last push notification. This kind of functionality is commonly known as debouncing. Debounces are often used in programming to ensure that tasks do not fire so often. Since we’re using PubNub Functions to manipulate the data, we won’t need to make any changes to our PubNub powered IoT smart button or the Smart Doorbell app.
What are PubNub Functions?
PubNub Functions is a serverless environment for executing functions on the edge, transforming, enriching, and filtering messages as they route through the PubNub network. PubNub Functions are JavaScript event handlers that can be executed on in-transit PubNub messages or in the request/response style of a RESTful API over HTTPS.
If you’ve used Node.js and Express, the “On Request” event handler development will be second nature.
Here are some of the things you could use PubNub Functions to do:
- Secure API Calls – Trigger an alert when a secure message meets certain criteria – email, text message, tweet, mobile push, etc.
- Decrease Time to Market: Focus on building your product and not managing the infrastructure to support it.
- Reduce Latency: Your users are global. Your product should be global. PubNub operates points of presence across the globe.
- Translation – Send a message in English and receive it in Spanish with a 3rd part translation API.
- Network Logic – Reliably count up millions of votes during realtime audience interaction.
- Serve Data – Build a globally replicated, low latency, production REST API in 5 minutes.
- Reduced Cost: Pay for usage and not idle servers.
Getting Started
You’ll need a free PubNub account and a React Native app.
Your app does not have to be the Smart Doorbell app we’re using in this tutorial. You can use your own PubNub application or you can build the Smart Doorbell app.
Here’s what you need for the Smart Doorbell app:

IoT Smart Button

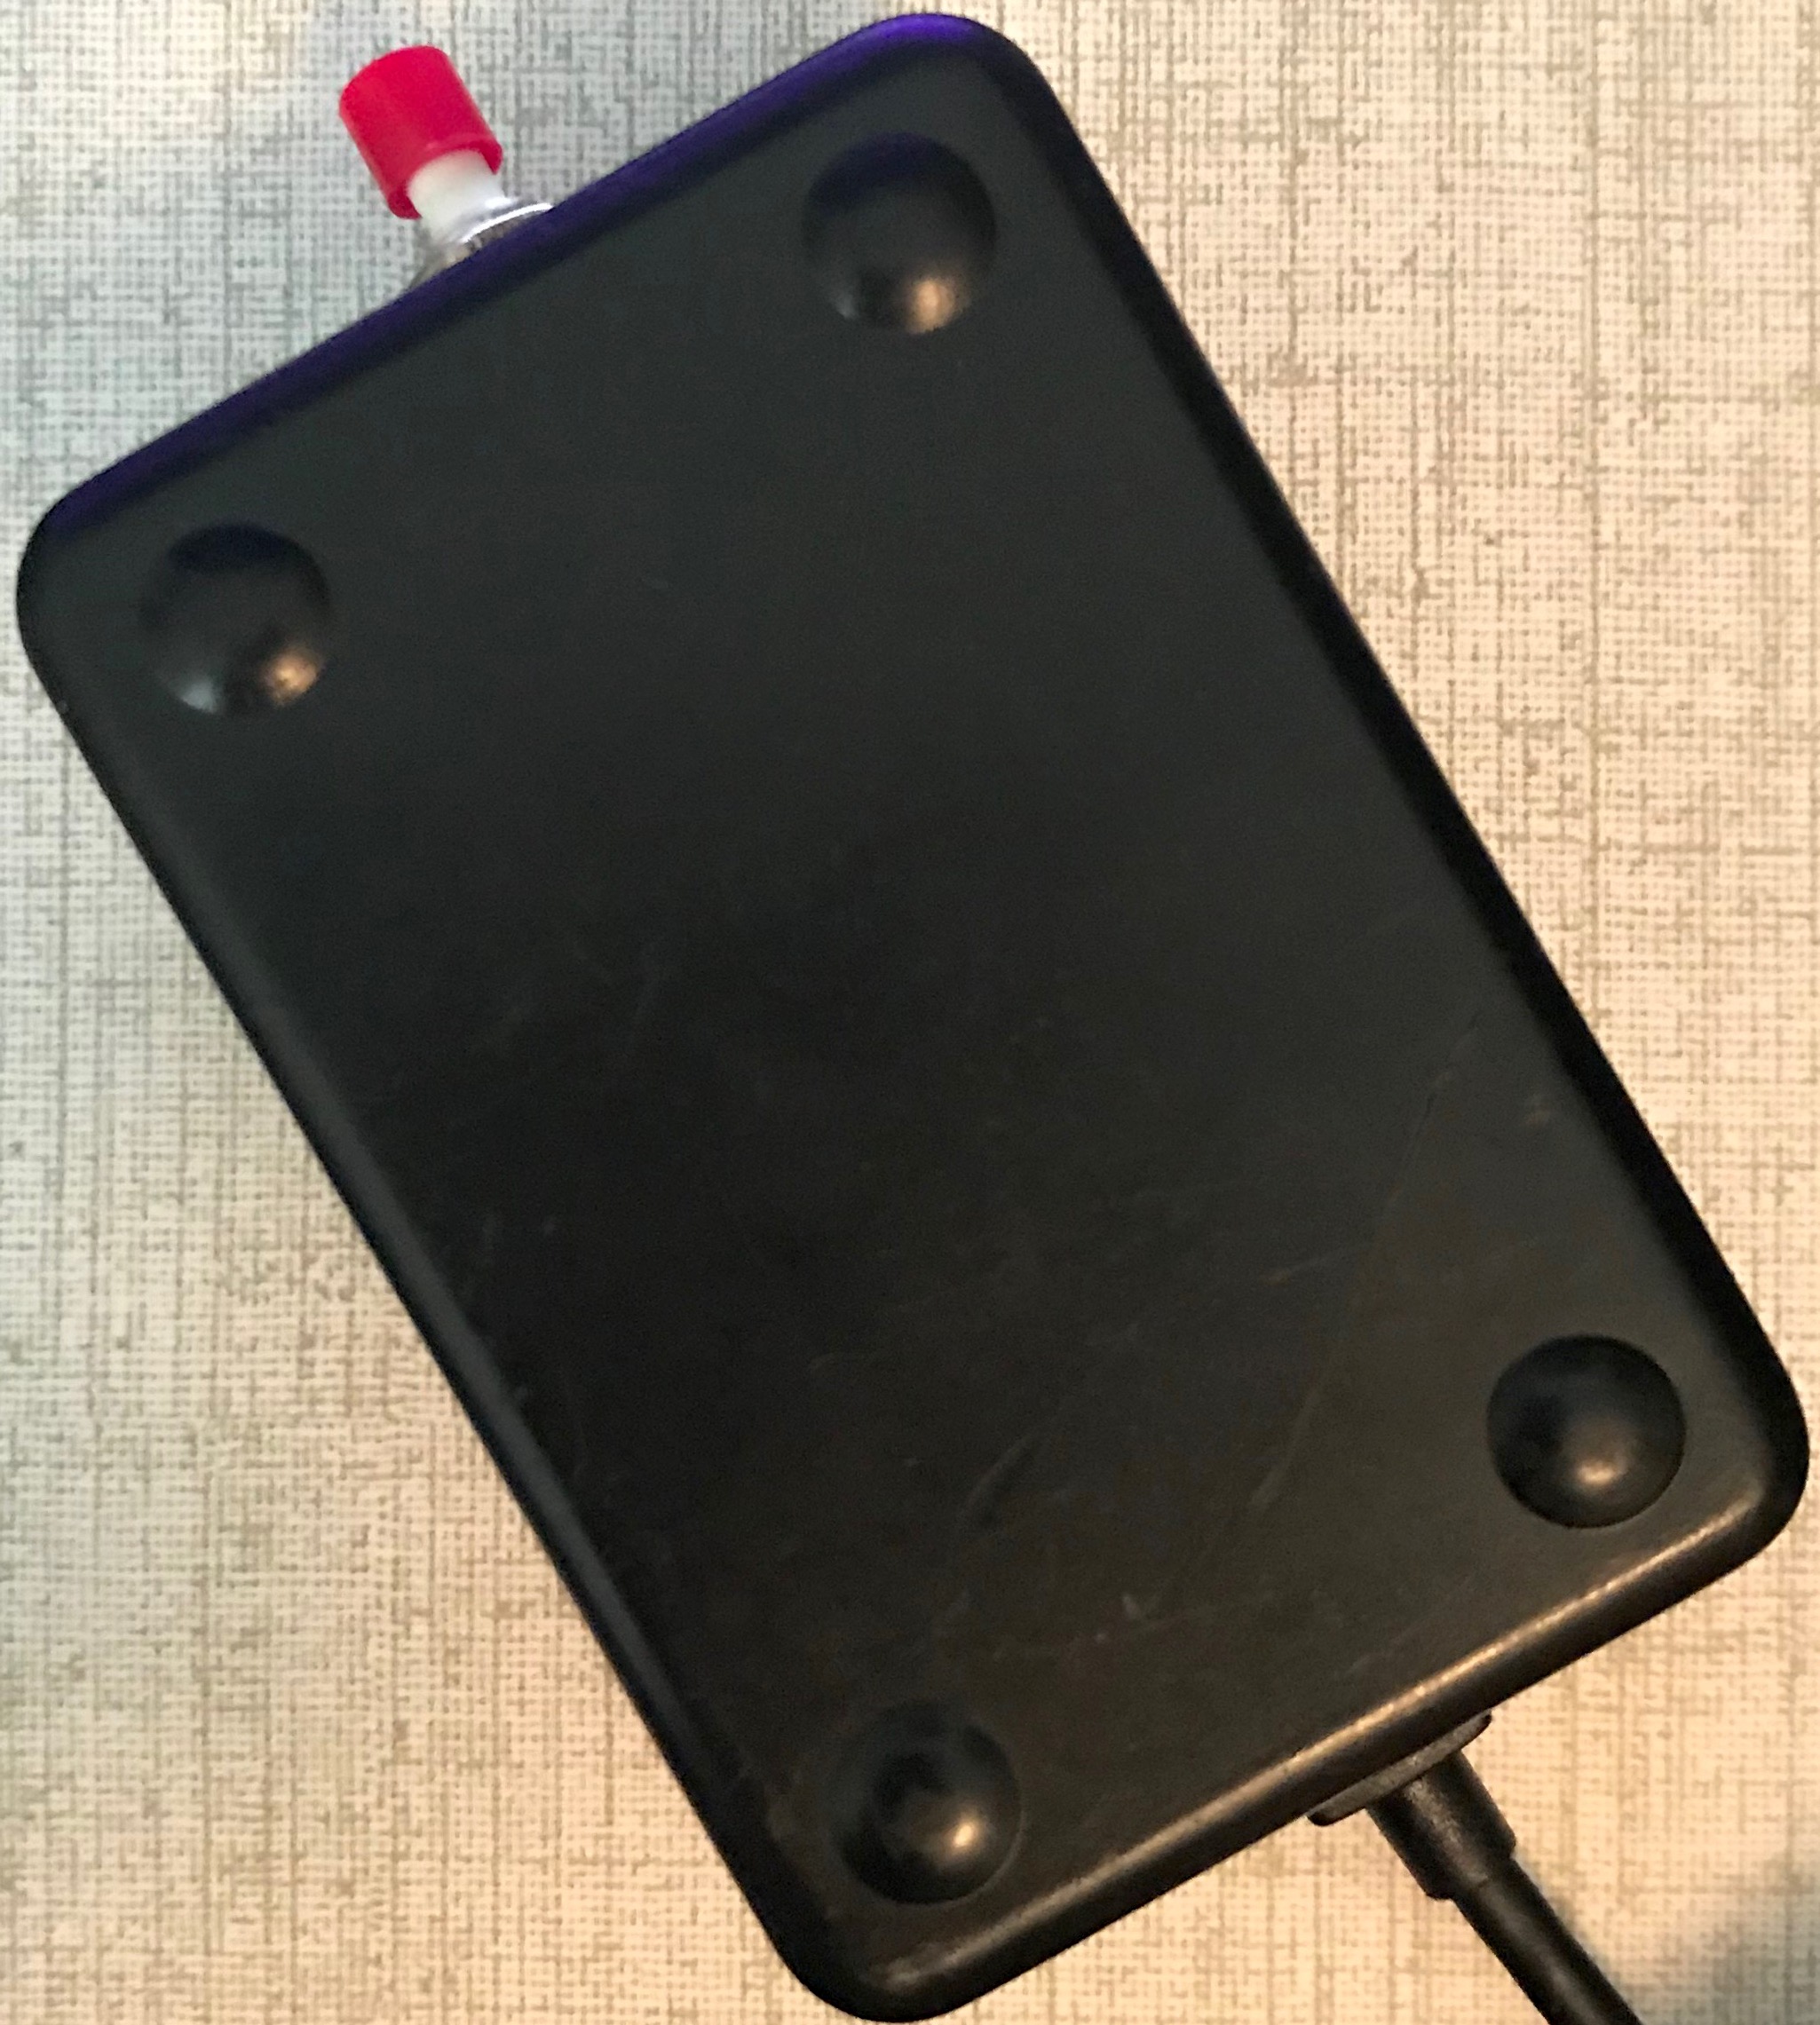
You’ll need to build your own PubNub powered IoT smart button to use with the Smart Doorbell app. I’ve put together a guide to build your own IoT smart button.
You only need two hardware components:
- A push button.
- A MKR1000 development board.
Build your button by following the guide.
Smart Button React Native App
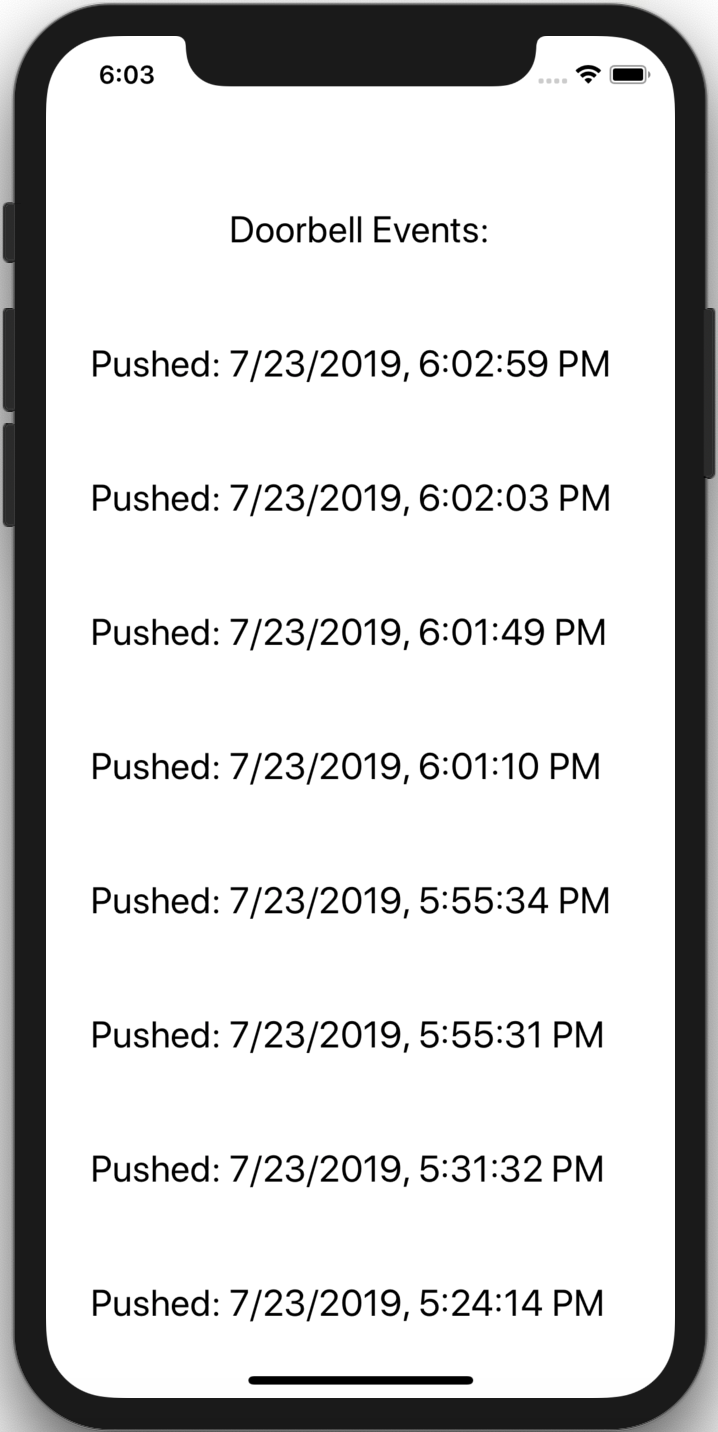
Next, you’ll need to complete the tutorial for building a Smart Doorbell app in React Native that tracks the history of the smart button press events. The app works on both iOS and Android.
Build the Smart Doorbell app by following the tutorial.
Push Notifications
Last, you’ll need to enable push notifications in the app by completing the tutorial for Instant Push Notifications for iOS and Android from a React Native App.
Creating a Function to Alter Messages
Go to your PubNub Admin Dashboard and select your app. Then click on the keyset that was created for that app.
Next, click “Functions” in the sidebar and then create a new module named “PushFilter.” Select the module you just created.
Create a Function with the name “Push-Filter.”
Set the event type to “Before Publish or Fire”, and set the channel name to “smart_buttons”.
Delete any code in the editor and replace it with a function to send an altered message if messages are sent less than 30 seconds apart:
- const store = require('kvstore');
- export default (request) => {
- // Limit push notifications.
- const duration = 30;
- // Get the time and compare to the last time a notification was sent.
- const currentTime = Math.round(Date.now() / 1000);
- return store.get('anti_spam').then((value) => {
- // Get the last time a message was sent with push notifications.
- const lastMessageTime = value.last_message_time;
- // Edit message if duplicate.
- if ((currentTime - lastMessageTime) < duration) {
- // Modify the message to remove push keys.
- console.log("Duplicate push notification removed.");
- request.message = { "event": { "button": "pressed" }};
- } else {
- // Allow full message and record time.
- store.set('anti_spam', {
- last_message_time: currentTime
- });
- }
- return request.ok();
- })
- .catch((e) => {
- console.error(e);
- return request.abort();
- });
- }
Click “Save” and then “Restart module.”
Test Message Debounce with IoT Smart Button
Press your PubNub powered IoT smart button and you’ll see in the console that an unaltered message is allowed only once every 30 seconds. No more push notification spam!
Test Message Debounce with Debug Console
You can also test by sending messages to the “smart_buttons” channel from the PubNub Debug Console. Go to your PubNub Admin Dashboard, select the keys you created for this project, and create a client in the Debug Console. Set the “Default Channel” to “smart_buttons” and leave the other fields blank. Click “ADD CLIENT”.
Send a test message to the channel and you’ll see that an unaltered message is allowed only once every 30 seconds.
- {
- "event": {
- "button": "pressed"
- },
- "pn_apns": {
- "aps": {
- "alert": "Someone is at the door."
- }
- },
- "pn_gcm": {
- "notification": {
- "body": "Someone is at the door."
- }
- }
- }
What’s next?
- Build a Smart Home powered by PubNub Functions.
- Link your PubNub-powered IoT smart button with an IFTTT recipe.
- Use push notifications to alert users of a delivery driver’s location.
Have suggestions or questions about the content of this post? Reach out at devrel@pubnub.com.


