
IN THIS ARTICLE
This is Part Two of our four-part series on building realtime maps with geolocation tracking for web and mobile web using the JavaScript Google Maps API and PubNub.
What are Map Markers?
In this tutorial, we’ll add map markers to our web or mobile web map. Map markers are used to identify the location of a user or device on the map. To get started with the functionality, we’ll place a single map marker on our map and update its location randomly. In our next parts, we’ll move the map marker based on real device location.
Tutorial Overview
If you haven’t already, you first need to take care of a couple of prerequisites we covered in Part One. These include:
- Creating your PubNub application, including Publish and Subscribe Keys
- Creating your Google Maps API Project and Credentials
The code for this example is available as a Codepen here.
Code Walkthrough
This code structure should be familiar if you’ve worked with HTML5 applications in the past. We start with a plain HTML5 application and include the PubNub library for realtime communications and Bootstrap CSS for minimal styling.
<!doctype html>
<html>
  <head>
    <title>Google Maps Tutorial</title>
    <script src="https://cdn.pubnub.com/sdk/javascript/pubnub.4.19.0.min.js"></script>
    <link rel="stylesheet" href="https://maxcdn.bootstrapcdn.com/bootstrap/3.3.7/css/bootstrap.min.css" />
    <link rel="stylesheet" href="https://maxcdn.bootstrapcdn.com/bootstrap/3.3.7/css/bootstrap-theme.min.css" />
  </head>
  <body>
If you’re wondering where the Google Maps API is included, it’s at the very end of the HTML5 page. This ensures the entire DOM is available to the maps code.
Next up, we create a DIV for the application, and inside that, a DIV to hold the map. In our case, we use inline CSS for the width and height. In a real production-class application, you’d likely define this styling elsewhere. This is what we were talking about when we said we wanted to include the Google Maps script after the Map canvas DOM element was defined.
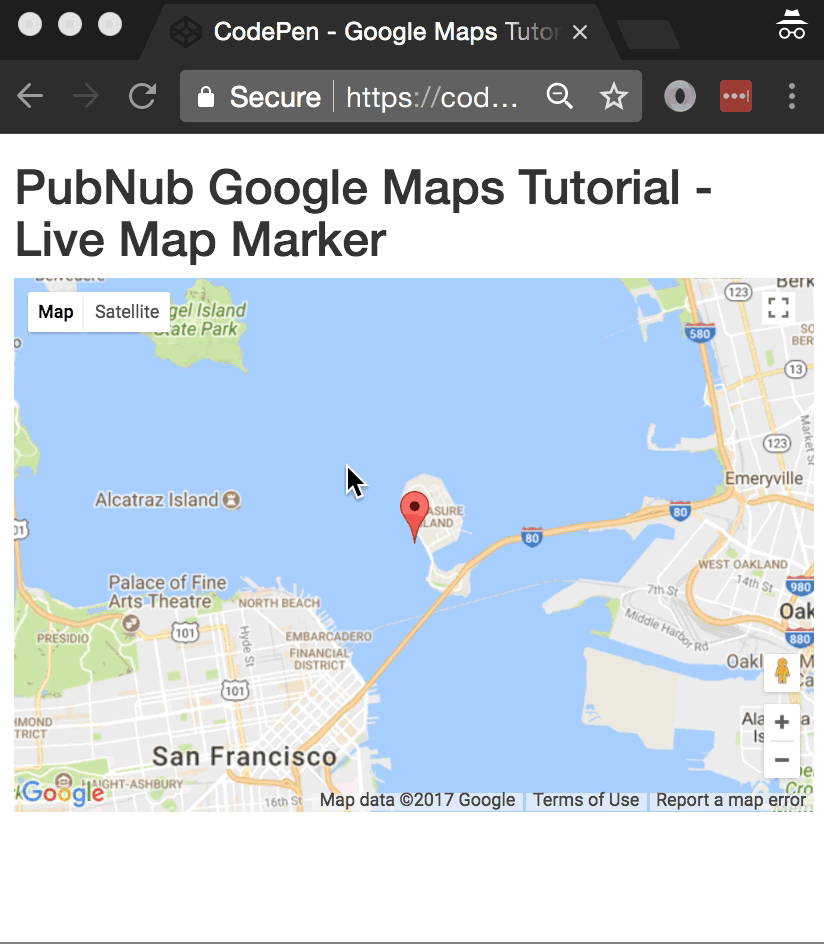
<div class="container">
  <h1>PubNub Google Maps Tutorial - Live Map Marker</h1>
  <div id="map-canvas" style="width:600px;height:400px"></div>
</div>
Now, we have a bunch of JavaScript to get through. Let’s take it one step at a time.
Latitude/Longitude
First we set up an initial latitude and longitude in the general vicinity of San Francisco. Then, we define a function that gives a point on a circle based on the current time. We define a radius (in degrees lat/lng). We take in a time (in epoch seconds).
Through the magic of trigonometry, the point on the circle is given by x = “initial longitude plus cosine of the input times the radius”, and y = “initial latitude plus sine of the input times the radius”. For convenience, we return a JavaScript object containing those values as latitude and longitude.
<script>
window.lat = 37.7850;
window.lng = -122.4383;
function circlePoint(time) {
  var radius = 0.01;
  var x = Math.cos(time) * radius;
  var y = Math.sin(time) * radius;
  return {lat:window.lat + y, lng:window.lng + x};
};
Moving Map Marker Position
Now that we have the math out of the way, let’s get to the good stuff. We define map and mark variables to hold our map and marker objects so we can manipulate them on the fly as PubNub events will be coming in. Then, we define the initialize callback that the Google Maps JavaScript API can call when it’s ready to load, and ensure it’s a member of the window object so it’s accessible to the API.
var map;
var mark;
var initialize = function() {
  map  = new google.maps.Map(document.getElementById('map-canvas'), {center:{lat:lat,lng:lng},zoom:12});
  mark = new google.maps.Marker({position:{lat:lat, lng:lng}, map:map});
};
window.initialize = initialize;
Next up, we define a redraw event handler which we’ll call whenever we get a new position changed event on the fly. In the first part of the function, we set the latitude and longitude to the new values from the message. Then, we invoke the appropriate methods on the map and marker objects to update the position and recenter the map.
var redraw = function(payload) {
  lat = payload.message.lat;
  lng = payload.message.lng;
  map.setCenter({lat:lat, lng:lng, alt:0});
  mark.setPosition({lat:lat, lng:lng, alt:0});
};
Connecting the Map to PubNub
Now that we’ve defined our callbacks, we have all the necessary machinery so we can move on to initializing the PubNub realtime data streaming functionality. First up, we decide the channel name that we’ll expect new position updates to arrive on. Then, we initialize the PubNub library using the publish and subscribe keys we set up earlier in Step 1 of the prerequisites.
Finally, we tell the PubNub library to subscribe to the appropriate channel, and attach the redraw function as a listener to the incoming events. What creates those events, you might ask?
var pnChannel = "map-channel";
var pubnub = new PubNub({
  publishKey:   'YOUR_PUB_KEY',
  subscribeKey: 'YOUR_SUB_KEY'
});
pubnub.subscribe({channels: [pnChannel]});
pubnub.addListener({message:redraw});
For this simple tutorial, we set up a basic JavaScript interval timer to publish new positions based on the current time. Every 500 milliseconds, we invoke the anonymous callback function which publishes a new latitude/longitude object (created by the circlePoint() call) to the specified PubNub channel.
setInterval(function() {
  pubnub.publish({channel:pnChannel, message:circlePoint(new Date().getTime()/1000)});
}, 500);
</script>
Initializing Google Maps
Last but not least, we initialize the Google Maps API at the very end to ensure the DOM elements and JavaScript prerequisites are satisfied.
    <script src="https://maps.googleapis.com/maps/api/js?v=3.exp&key=YOUR_GOOGLE_MAPS_API_KEY&callback=initialize"></script>
  </body>
</html>
Next Steps
With that, we now have our JavaScript map application, and we’re able to plot map markers. The next step is to detect the device’s location and plot it in realtime, moving it as the location changes, which we’ll cover in Part 3 on geolocation!
Try PubNub today!


