

IN THIS ARTICLE
Hello, and welcome back to our series on Voice Activation in Realtime web applications. In this article, we will add dictation (speech-to-text) in our realtime AngularJS web application with just 79 lines of HTML and JavaScript. Services and products such as Amazon Echo, Siri and Google Now use speech recognition as part of their voice user interfaces. As these devices gain popularity, user behavior and expectations are shifting from web-based to voice-based user experiences in many everyday settings.
Diving into the Code
First up, like last time, we have the JavaScript code & CSS dependencies of our application.
<!doctype html>
<html>
<head>
  <script src="https://cdn.pubnub.com/pubnub-3.15.1.min.js"></script>
  <script src="https://ajax.googleapis.com/ajax/libs/angularjs/1.5.6/angular.min.js"></script>
  <script src="https://cdn.pubnub.com/sdk/pubnub-angular/pubnub-angular-3.2.1.min.js"></script>
  <script src="https://cdnjs.cloudflare.com/ajax/libs/underscore.js/1.8.3/underscore-min.js"></script>
  <link rel="stylesheet" href="//netdna.bootstrapcdn.com/bootstrap/3.0.2/css/bootstrap.min.css" />
  <link rel="stylesheet" href="https://maxcdn.bootstrapcdn.com/font-awesome/4.6.3/css/font-awesome.min.css" />
</head>
<body>
For folks who have done front-end implementation with AngularJS before, these should be the usual suspects:
- PubNub JavaScript client: to connect to our data stream integration channel.
- AngularJS: were you expecting a niftier front-end framework? Impossible!
- PubNub Angular JavaScript client: provides PubNub services in AngularJS quite nicely indeed.
- Underscore.js: we could avoid using Underscore.JS, but then our code would be less awesome.
In addition, we bring in 2 CSS features:
- Bootstrap: in this app, we use it just for vanilla UI presentation.
- Font-Awesome: we love Font Awesome because it lets us use truetype font characters instead of image-based icons. Pretty sweet!
Overall, we were pretty pleased that we could build a nifty UI with so few dependencies. And with that… on to the UI!
The User Interface
Here’s what we intend the UI to look like:
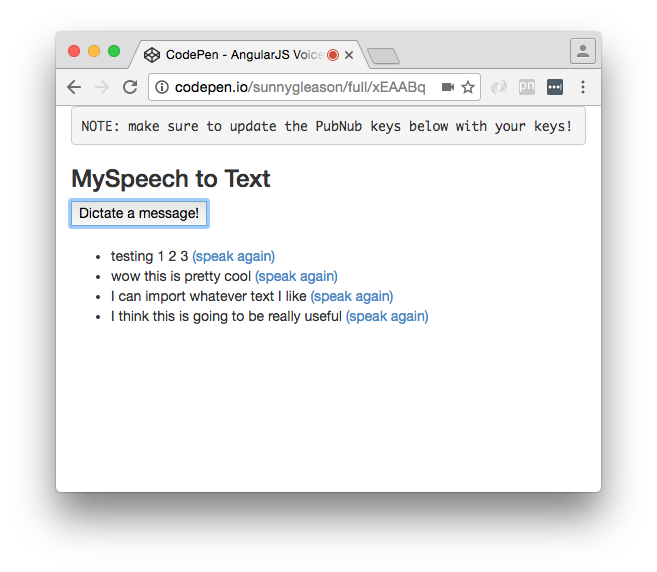
Actually, there is also the need for the user to allow microphone access to the site as well:
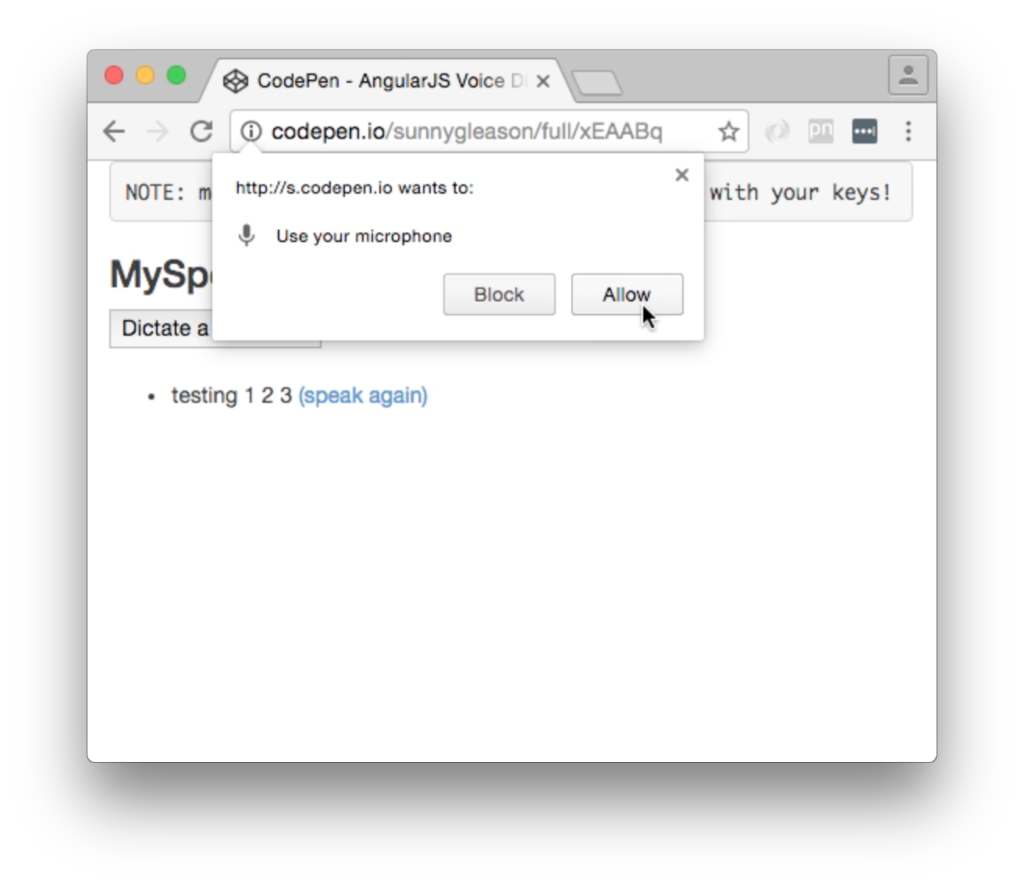
The UI is pretty straightforward – everything is inside a div tag that is managed by a single controller that we’ll set up in the AngularJS code. That h3 heading should be pretty self-explanatory.
<div class="container" ng-app="PubNubAngularApp" ng-controller="MySpeechCtrl">
<pre>NOTE: make sure to update the PubNub keys below with your keys!</pre>
<h3>MySpeech to Text</h3>
We provide a single button to dictate a message to send to the PubNub channel. Much simpler than keyboard input, for sure!
<input type="button" ng-click="dictateIt()" value="Dictate a message!" />
Our UI consists of a simple list of messages. We iterate over the messages in the controller scope using a trusty ng-repeat. Each message includes a link to allow the user to speak the text (using our text-to-speech feature from the previous article).
<ul>
  <li ng-repeat="message in messages track by $index">
    {{message.data}}
    <a ng-click="sayIt(message.data)">(speak again)</a>
  </li>
</ul>
</div>
And that’s it – a functioning realtime UI in just a handful of code (thanks, AngularJS)!
AngularJS Code
Right on! Now we’re ready to dive into the AngularJS code. It’s not a ton of JavaScript, so this should hopefully be pretty straightforward.
The first lines we encounter set up our application (with a necessary dependency on the PubNub AngularJS service) and a single controller (which we dub MySpeechCtrl). Both of these values correspond to the ng-app and ng-controller attributes from the preceding UI code.
<script>
angular.module('PubNubAngularApp', ["pubnub.angular.service"])
.controller('MySpeechCtrl', function($rootScope, $scope, Pubnub) {
Next up, we initialize a bunch of values. First is an array of message objects which starts out with a single message for testing. After that, we set up the msgChannel as the channel name where we will send and receive realtime structured data messages.
  $scope.messages     = [{data:"testing 1 2 3"}];
  $scope.msgChannel   = 'MySpeech';
We initialize the Pubnub object with our PubNub publish and subscribe keys mentioned above, and set a scope variable to make sure the initialization only occurs once. NOTE: this uses the v3 API syntax.
  if (!$rootScope.initialized) {
    Pubnub.init({
      publish_key: 'YOUR_PUB_KEY',
      subscribe_key: 'YOUR_SUB_KEY',
      ssl:true
    });
    $rootScope.initialized = true;
  }
The next thing we’ll need is a realtime message callback called msgCallback; it takes care of all the realtime messages we need to handle from PubNub. In our case, we have only one scenario – an incoming message containing text to speak. We push the message object onto the scope array and pass it to the sayIt() function for text-to-speech translation (we’ll cover that later). The push() operation should be in a $scope.$apply() call so that AngularJS gets the idea that a change came in asynchronously.
  var msgCallback = function(payload) {
    $scope.$apply(function() {
      $scope.messages.push(payload);
    });
    $scope.sayIt(payload.data);
  };
In the main body of the controller, we subscribe() to the message channel (using the JavaScript v3 API syntax) and bind the events to the callback function we just created.
Pubnub.subscribe({ channel: [$scope.msgChannel, $scope.prsChannel], message: msgCallback });
Next, we define the sayIt() function, which takes a text string and passes it to the Text-To-Speech engine. It should be familiar from the previous article.
  $scope.sayIt = function (theText) {
    window.speechSynthesis.speak(new SpeechSynthesisUtterance(theText));
  };
Most importantly for the purposes of this article, we define a dictateIt() function that performs the speech recognition task. We instantiate a new webkitSpeechRecognition instance to perform the speech recognition, and populate its onresult() handler with our own custom logic. The first part of the handler is code to concatenate all the recognized text fragments. The second part calls Pubnub.publish() to send the recognized text out on the channel. Finally, we call recognition.start() to initiate speech recognition.
  $scope.dictateIt = function () {
    var theText = "";
    var recognition = new webkitSpeechRecognition();
    recognition.onresult = function (event) {
      for (var i = event.resultIndex; i < event.results.length; i++) {
        if (event.results[i].isFinal) {
          theText  += event.results[i][0].transcript;
        }
      }
      Pubnub.publish({
        channel: $scope.msgChannel,
        message: {data:theText}
      });
    };
    recognition.start();
  };
We mustn’t forget close out the HTML tags accordingly.
});
</script>
</body>
</html>
Not too shabby for about eighty lines of HTML & JavaScript! For your convenience, this code is also available as a Gist on GitHub, and a Codepen as well.
Additional Features
There are a few other features worth mentioning in the Web Speech API.
var recognition = new webkitSpeechRecognition();
recognition.lang = "en-US";
recognition.continuous = true;
recognition.interimResults = true;
recognition.onstart = function() { ... }
recognition.onresult = function(event) { ... }
recognition.onerror = function(event) { ... }
recognition.onend = function() { ... }
Speech recognition language may be configured by using the appropriate ISO language code.
There are two modes of working with Speech Recognition – continuous or not. In continuous mode, speech will be streamed over the network for recognition and callbacks will be invoked accordingly. This means that the developer is also responsible for ensuring recognition.stop() is called appropriately when dictation should stop. In non-streaming mode, only a single recognition result will be returned, and calling stop() is not necessary.
Also, the speech API provides for interim results. Often times, faster, lower-quality results are available for user feedback before higher-quality, final results come back. If you would like to display interim results in your application, you can enable interim results and look at result objects where isFinal is false. You’ll probably need to whip up some UI magic to display the “pending” text in a sensible way; I’ve seen SPAN tags with text selection look-and-feel in other examples.
Finally, there are a bunch of events that the UI can hook into. The onstart() event is probably a good place to do the “stopped” to “started” mic icon switch, and vice versa for the onend() event. The onerror() event will come in handy for bulletproofing the user experience.
Conclusion
Thank you so much for joining us in the Speech Recognition article of our Voice Activation series! Hopefully it’s been a useful experience learning about voice-enabled technologies. In a future article, we’ll dive deeper into the Speech APIs and use cases for voice commands in realtime web applications.
Try PubNub today!


