IN THIS ARTICLE
Servos mechanically open and close things. That thing could be the lock on your door. It could also be connected to your pet door when it’s time for the cat to come inside the house. Whatever the situation, from prison doors to helicopters, servos have practical applications.
This blog post will show you how to remote control a Tessel Servo Module, enabling you to control your servo not just locally, but from anywhere with an Internet connection. Your commands to the servo will be sent and carried out in realtime. A sample script will send a desired position and the Servo automatically adjusts its position!
But that’s not all folks! The tutorial also explains how to visualize the position of the servo from your browser, so you’ll know exactly what position the servo is in from a remote location.
Prep
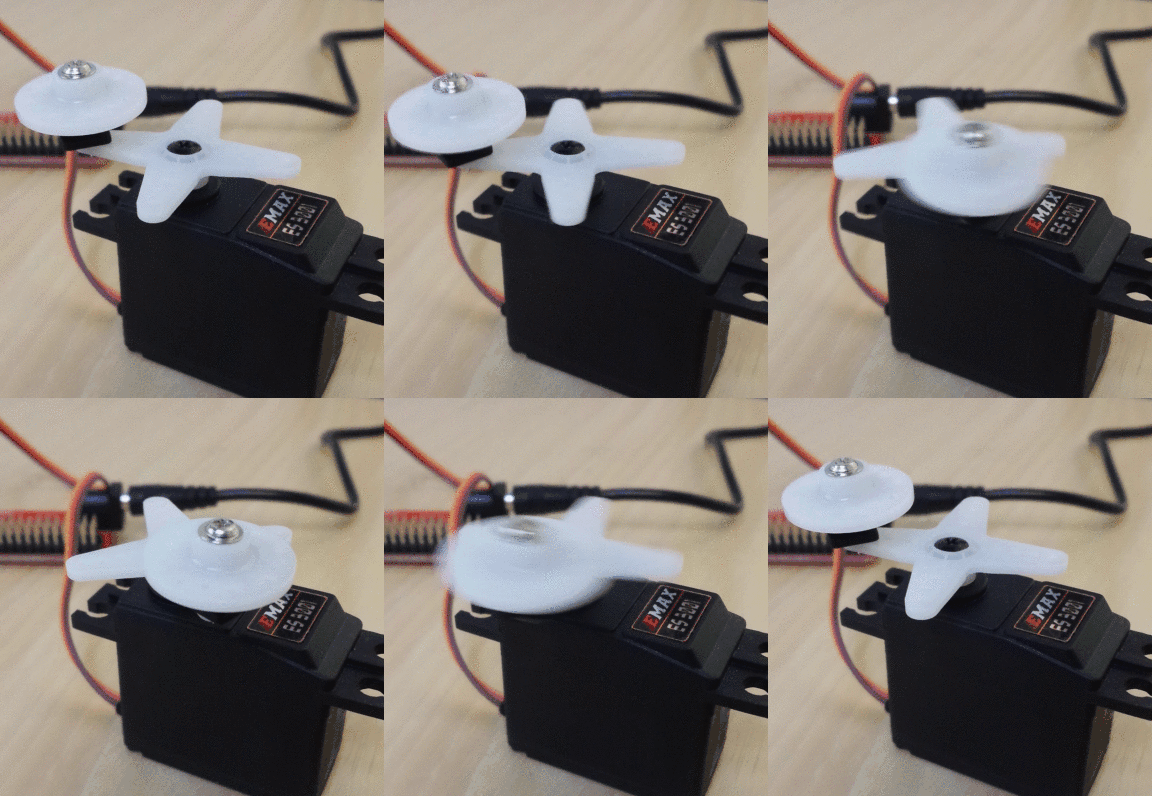
You will use the Tessel Servo Module. The result of the prep looks like this.
Clone the repository.
Follow the instructions located on the page. Navigate to the /examples folder. The two files you need from this folder are pubnub_debug_send.js and pubnub_servo_listen.js.
- To send a message to use servo_send.js.
- Listen with servo_listen.js.
- The visualization portion will be created using HTML, CSS, and AngularJS
After following the instructions on https://github.com/pubnub/pubnub-tessel, you should have a functioning Tessel board. Unplug the tessel USB before adding modules.
Setup
Set up the Tessel configuration for the servo. If you need assistance refer to the start page for the Tessel servo documentation here.

The servo board is connected to slot “A”. Yellow is the signal, brown is ground for the servo. Yellow goes on the top pin with brown on the bottom. For the purpose of the code you should use the leftmost set of pins.
Install the dependencies in the base pubnub-tessel folder.
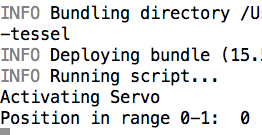
After the dependencies have been installed you are ready to set the Tessel to listen for commands on PubNub’s demo key. Activate the servo and have it listen.
This is how the code should respond.
Let this terminal window sit and open a new terminal. In the new terminal you will send positions in your message. The message is sent over PubNub.
Sending Information
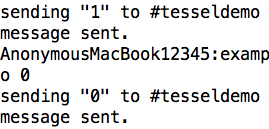
Use pubnub_debug_send.js, which is located in the examples folder. Test out the servo by sending a few messages. Start with zero so that you know it’s in the default position. node pubnub_debug_send.js tesseldemo 0 You should hear the little motors whirring within the small machine. If not, try setting the servo to position 1.
Messages should be sent as so:
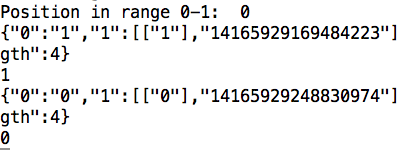
In the other terminal, messages should be received as so:
Visualization
The easiest route to create a visualization is to borrow the camera-ui.html from pubnub-tessel/projects/streaming-camera/
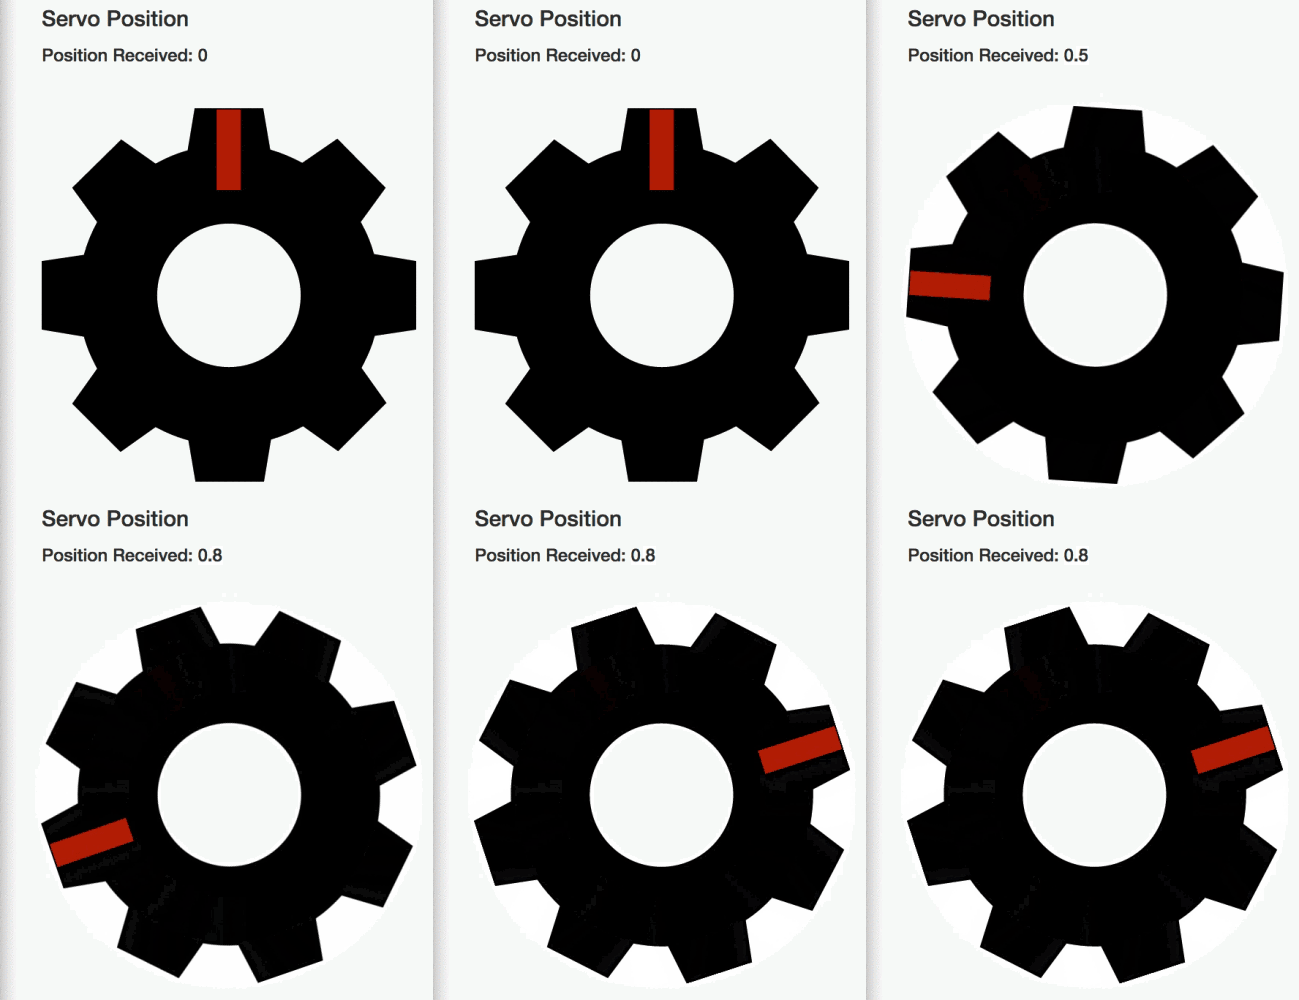
This existing example allows you to revise a program that already works. This is the final product after revisions.
The Tessel servo can move through positions from 0 to 1. It can receive 0.01 increments.
First you need to set up the visuals for the app.
Next you need to set a current_pos variable for the scope.
You are setting it as NaN because you might not know the initial position of the servo. Now you need to modify the events upon receiving a message.
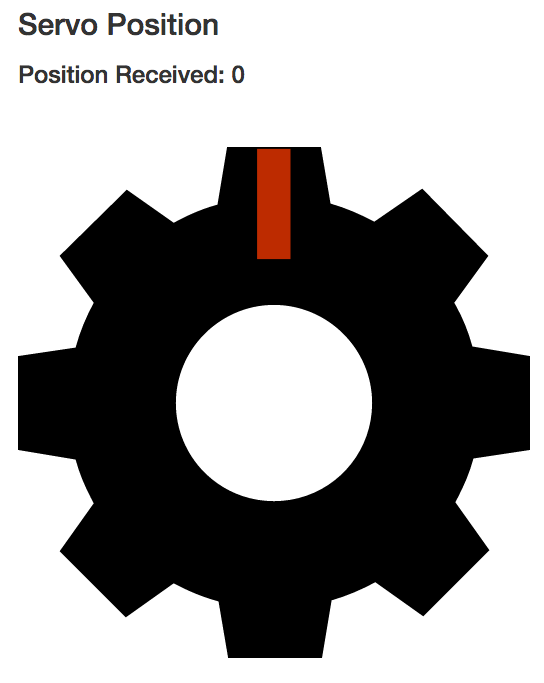
You should have a message area, which can take a number. An image of the gear should be below the message.
Now you need to make the gear rotate when a message is received on PubNub. In the image tag add an ng-style.
The code has data binding for rotate_pos, which allows you to rotate the gear using a CSS3 transform. There should be a gear that takes commands on the rotating position. Add some animations to make it perform nicely.
Below the head tag add a style tag.
This css3 transition targets id of “gear”. It sets the transition of the transform to 1.5s. It uses an “ease-in-out” curve, which can look more natural for movement when compared with a “linear” curve.
The final product should move smoothly between positions. It should also provide alerts if the position received is greater than one or less than zero.


