

IN THIS ARTICLE
Dialogflow is a powerful tool that allows you to create intents for Google Home and Google Assistant supported devices. Using intents and entities, you can create some pretty cool AI systems that can understand user voice input and output a percentage of accuracy.
In order to make custom responses that require special data, you are going to have to set up a webhook to return information to the end user.
Use Cases
Here are just a few examples of how you could use PubNub Functions and Dialogflow to create your next smart application:
- Build your own custom Google Home / Google Assistant application
- Build a home automation solution that receives voice commands and triggers an action, like turning on a lightbulb
- Have Google Home tell you the current bitcoin price using webhooks and Functions
Getting Started with Dialogflow
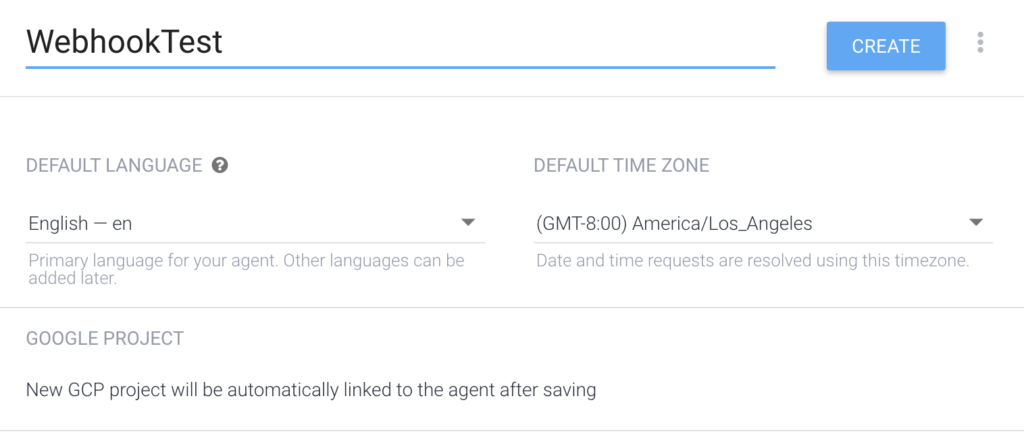
The first step is to navigate to the Dialogflow console and create an account if you haven’t before. Click the Create new agent button, and name it whatever you wish. In this case, I’m going to name my application WebhookTest.
Getting Started with PubNub Functions
The next step to setting up your webhook is to activate PubNub Functions. PubNub Functions allows you to easily setup a webhook without needing to setup your own server. In addition, the PubNub Functions IDE allows you write all your webhook logic in Javascript.
You’ll first have to signup for a free account and log into the Admin Dashboard. Click the Create New Keyset button in the dashboard, name the Keyset whatever you wish. After you setup your Keyset, click the FUNCTIONS button on the left navigation banner. If you are having issues or need more help with setting up PubNub Functions, check out this tutorial.
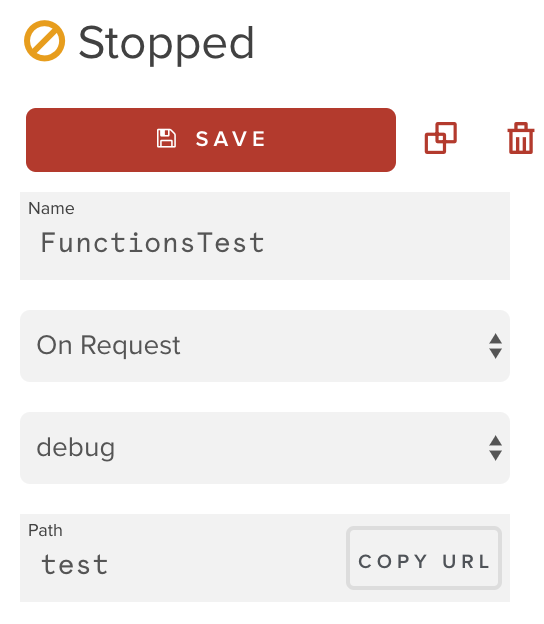
Create a new PubNub Function, and make sure you have OnRequest selected.

Once you create your Function, click the COPY URL button located in the Path field.
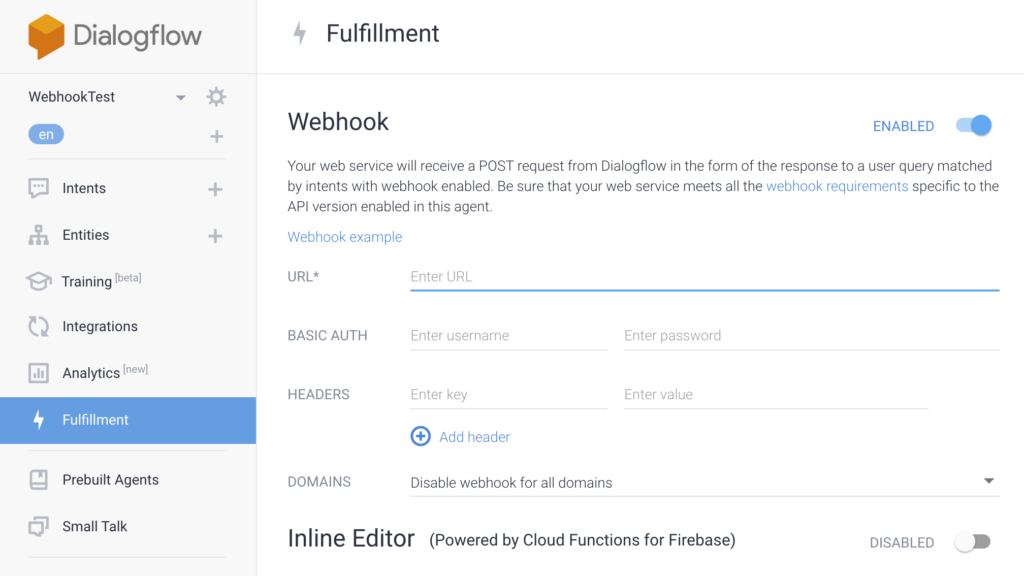
Navigate back to Dialogflow and click on the Fulfillment button. Click the slider to Enable Webhook’s then paste the URL from the Path in the URL field. Most importantly, scroll all the way to the bottom of the page and click the Save button, or else your information won’t save.
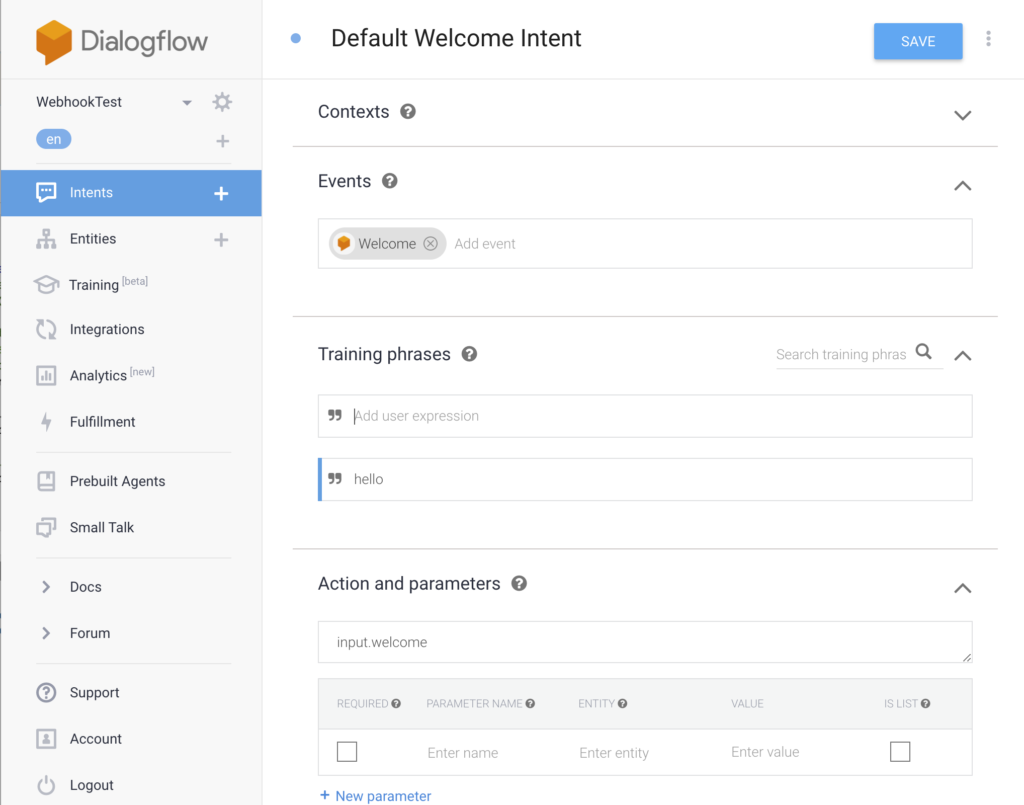
Next, click on the Intents button, then click on the Default Welcome Intent. In the training phrases section, type in Hello. These training phrases indicate what the user has to say or type into the field in order to get a response from your webhook. You can learn more about Intents here. Make sure to click the Save button to save your intent.
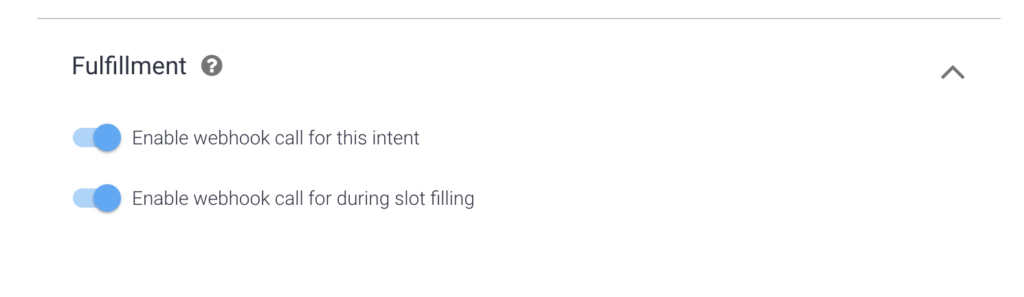
Now scroll to the bottom of the page, and enable the sliders for webhooks.
Navigate back to PubNub Functions, and where it says:
return response.send(body);
and replace with:
return response.send({speech: "What's up cool developer :)"}); 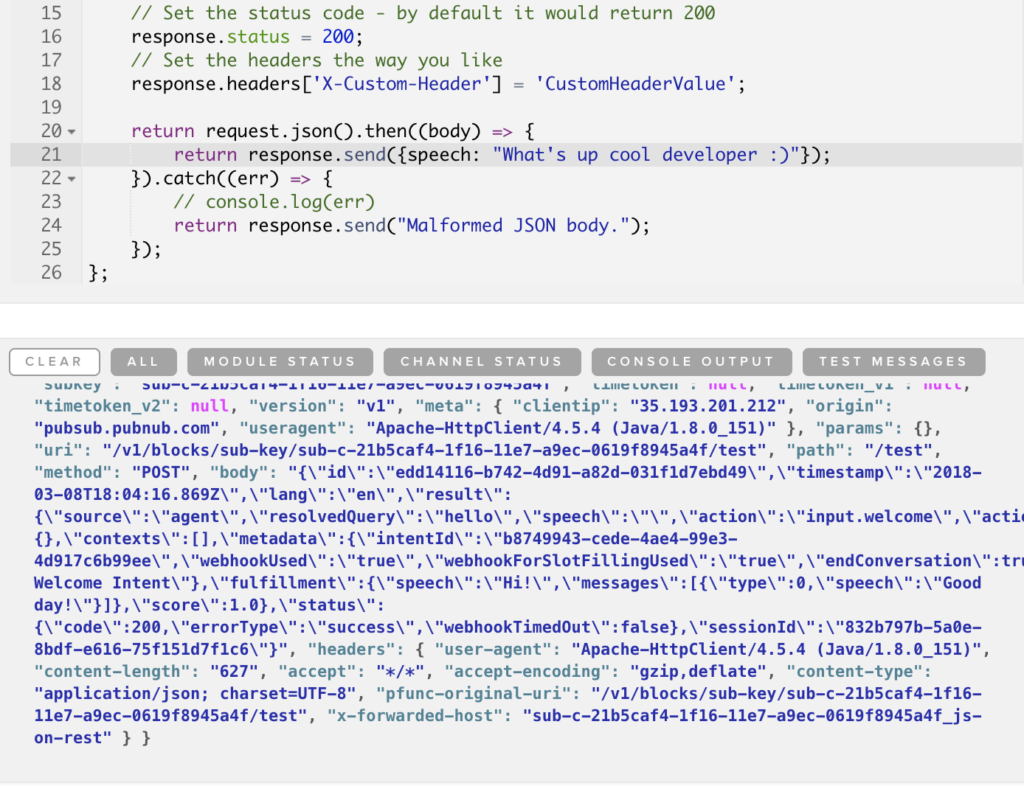
Click the Restart Module button to restart the block. Once you see the dialog that says the block has been globally deployed, navigate back to Dialogflow.
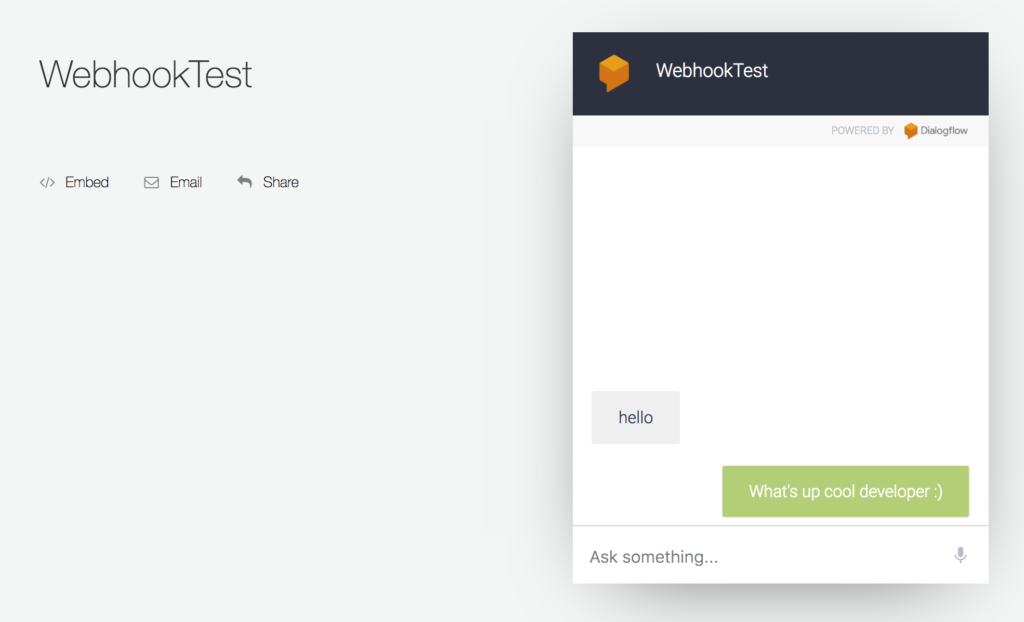
Now let’s test out or webhook to make sure it worked.
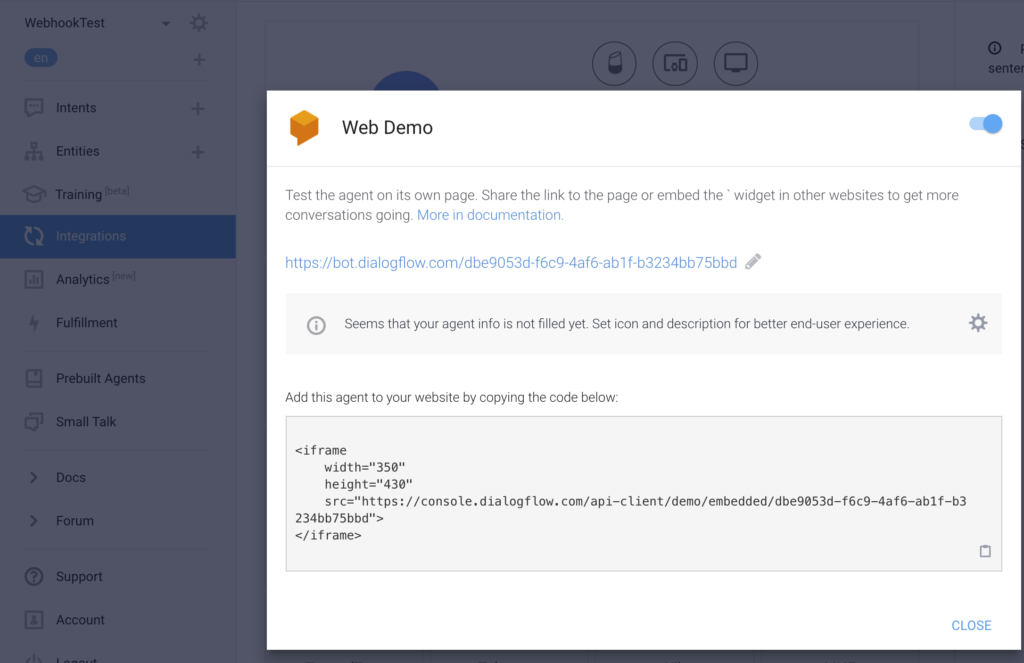
Click on the Integrations button on the Dialogflow sidebar, and enable Web Demo. Click on the bot.dialogflow.com link and then when you see the chat window, type in hello. As you will now see, you will get a response from our webhook saying “What’s up cool developer :)”.
Conclusion
As you can see from this tutorial, setting up webhooks with PubNub Functions is a breeze. Now that you have a webhook successfully created, you can write your webhook logic in PubNub Functions to customize your Dialogflow application. You can take this logic a step further to make your application into a Google Home or Google Assistant application.
Try PubNub today!


