IN THIS ARTICLE
Welcome back to part two of three of our tutorial series on building smarter Tessel iBeacon technology! Part one introduced our Tessel beacon series, and in part three, we build the emitter (publisher).
In this part, we’ll build the detector (subscriber), the Tessel iBeacon application that detects for a signal from the emitter.
We want to make our beacons smarter! Our sample app will be using PubNub to establish a two-way communication between the iBeacon and the user detecting the signal! The high level description of the concept of our app is available here, give it a look so you understand how our app will work!
You may also want to understand how the beacon’s advertised data is organized in order to comprehend some key lines of code from this tutorial.
Getting started
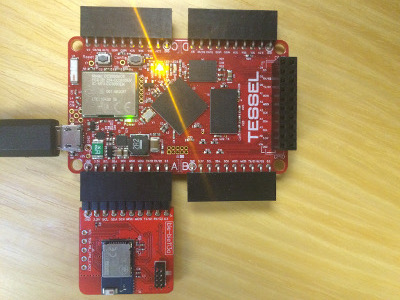
The first thing you want to do is setup your tessel and its BLE module with all the proper node modules. It’s all explained on the Tessel webpage.
The second thing you’ll need is the pubnub module for Javascript:
We’ll also be using the following module to make some comparisons easier.
Last, but not least, you’ll want to connect your tessel to wifi.
We’re all set! Let’s start coding!
Detect Beacons with your Tessel Board
Libraries and variables
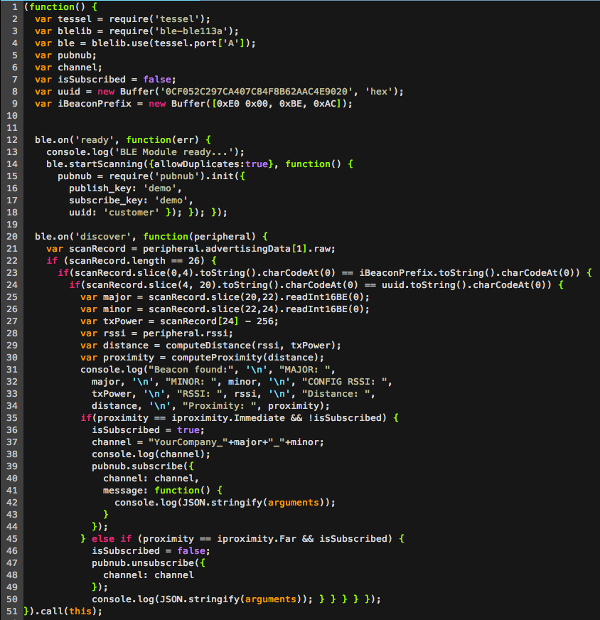
We want our code to contain some packages for the Tessel and for PubNub. We’ll also have a couple variables we’ll want to declare.
We added modules, the uuid of the beacons we will be trying to detect and a list of proximities. Because the distance computed by Beacons isn’t reliable we will categorize distances. Less than a meter away will be “Immediate” proximity, between a meter and 3 meters we will be “Near” and the rest will be “Far”.
Calculate the distance to a Beacon
As mentioned in the article explaining how the beacon protocol works, we will have to build a method which computes the distance to the beacon based on the intensity of the signal received and the reference RSSI sent inside the advertised data. We will use AltBeacon’s algorithm.
There isn’t much explaining to do. This algorithm was determined experimentally, you’ll need to use it as is to compute the distance to the beacon.
The next step is to classify the distance into “Immediate”, “Near” and “Far” zones:
This should provide a solid basis to our application! Let’s start detecting beacons!
Detect BLE Signals with the Tessel
This is how it goes:
We simply start the BLE module we plugged into port A, and implement a callback triggered when the module is ready. In the callback we start scanning, we will add the option to show duplicates. This will allow us to update the distance to the beacon over time instead of detecting it only once.
Detect Only Beacon Signals
Now we want to code our reaction to discovered BLE signals and select only those who are beacons:
We extract the content of the scanned information into the scan record. The scan record contains manufacturer data of the second AD structure. As a result, we want to make sure the length of the scanRecord corresponds to the one emitted for an AltBeacon.
Once we verified the length we can compare the first 2 manufacturer specific bytes. Here we ignore the Manufacturer ID in order to detect devices from any manufacturer. If we did not start by testing the length we would get errors from BLE scan records containing less than 4 bytes.
And there you have it! That is all you need to know to make sure you have a beacon signal! Our next step will be to select only the Beacons that have our UUID!
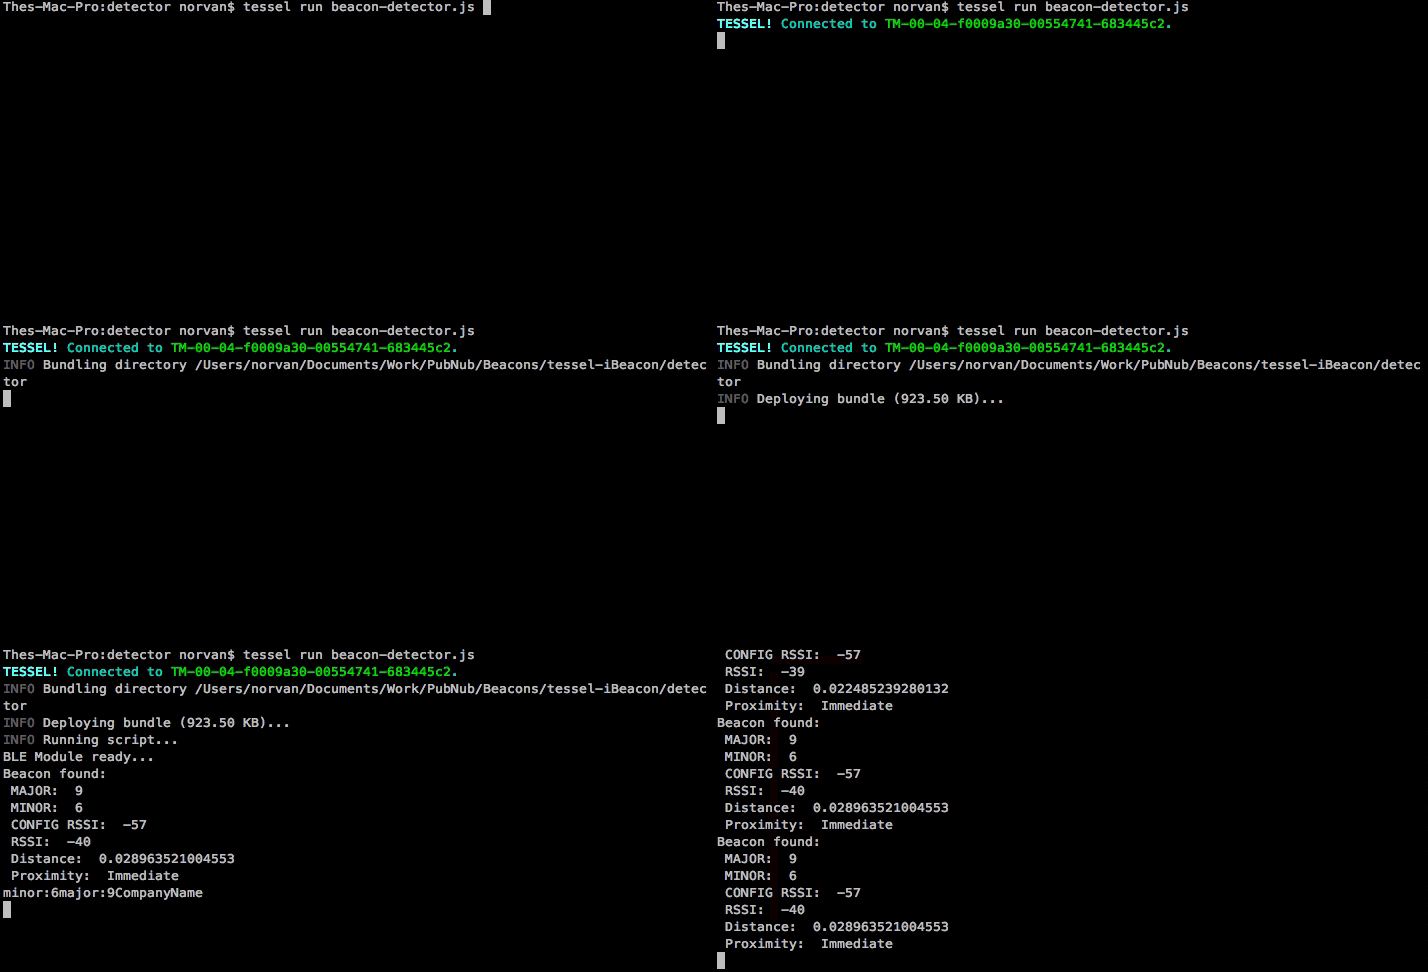
We have all the information we can get from a beacon! Beautiful!
Now let’s integrate PubNub to get a two-way communication with our beacon.
Remember, when we get close enough (we’ll say “Immediate” distance) we will subscribe to the PubNub channel indicated by the major and minor. As soon as we subscribe, the beacon will send us a message that we’ll have to display!
PubNub and Tessel
The tricky part with Tessels is that if your code gets a little too heavy, the device times out before being able to start your app. So you want to make sure your Tessel is never doing too many things at the same time.
That’s why we will initialize our connection to PubNub inside the beacon.on("ready", callback) callback.
In our app’s variables let’s add a few line:
Now the callback:
When the connection to PubNub is initialized, you need a publish and a subscribe key.
To get your unique pub/sub keys, you’ll first need to sign up for a PubNub account. Once you sign up, you can get your unique PubNub keys in the PubNub Developer Dashboard. Our free Sandbox tier should give you all the bandwidth you need to build and test your app with the PubNub API.
Subscribe to a Channel
The next thing we want to do is have our Tessel subscribe to the advertised PubNub channel. Because we don’t want to subscribe to the channel every single time the Tessel finds a duplicate of the signal, we will use a boolean value controlling whether we are already subscribed or not.
There you have it! We subscribe to the advertised channel, and display any message sent in the channel to our console.
One last thing we want to do is unsubscribe to the channel as soon as we are far enough:
We are officially all set! Not too bad?
Check out how to implement the beacon side which emits our advertised data and sends message over the PubNub channel in our final part!


