IN THIS ARTICLE
This tutorial walks through building chat with our core pub/sub technology (and other PubNub features). We recently launched ChatEngine, a new framework for rapid chat development.
Welcome back to Part 4 of our PubNub series on how to build a complete chat app with PubNub’s AngularJS SDK.
In Part 3: Building an AngularJS Chat App with a User Roster Using Presence API, you learned how to display an active user list in your AngularJS chat app using PubNub Presence API.
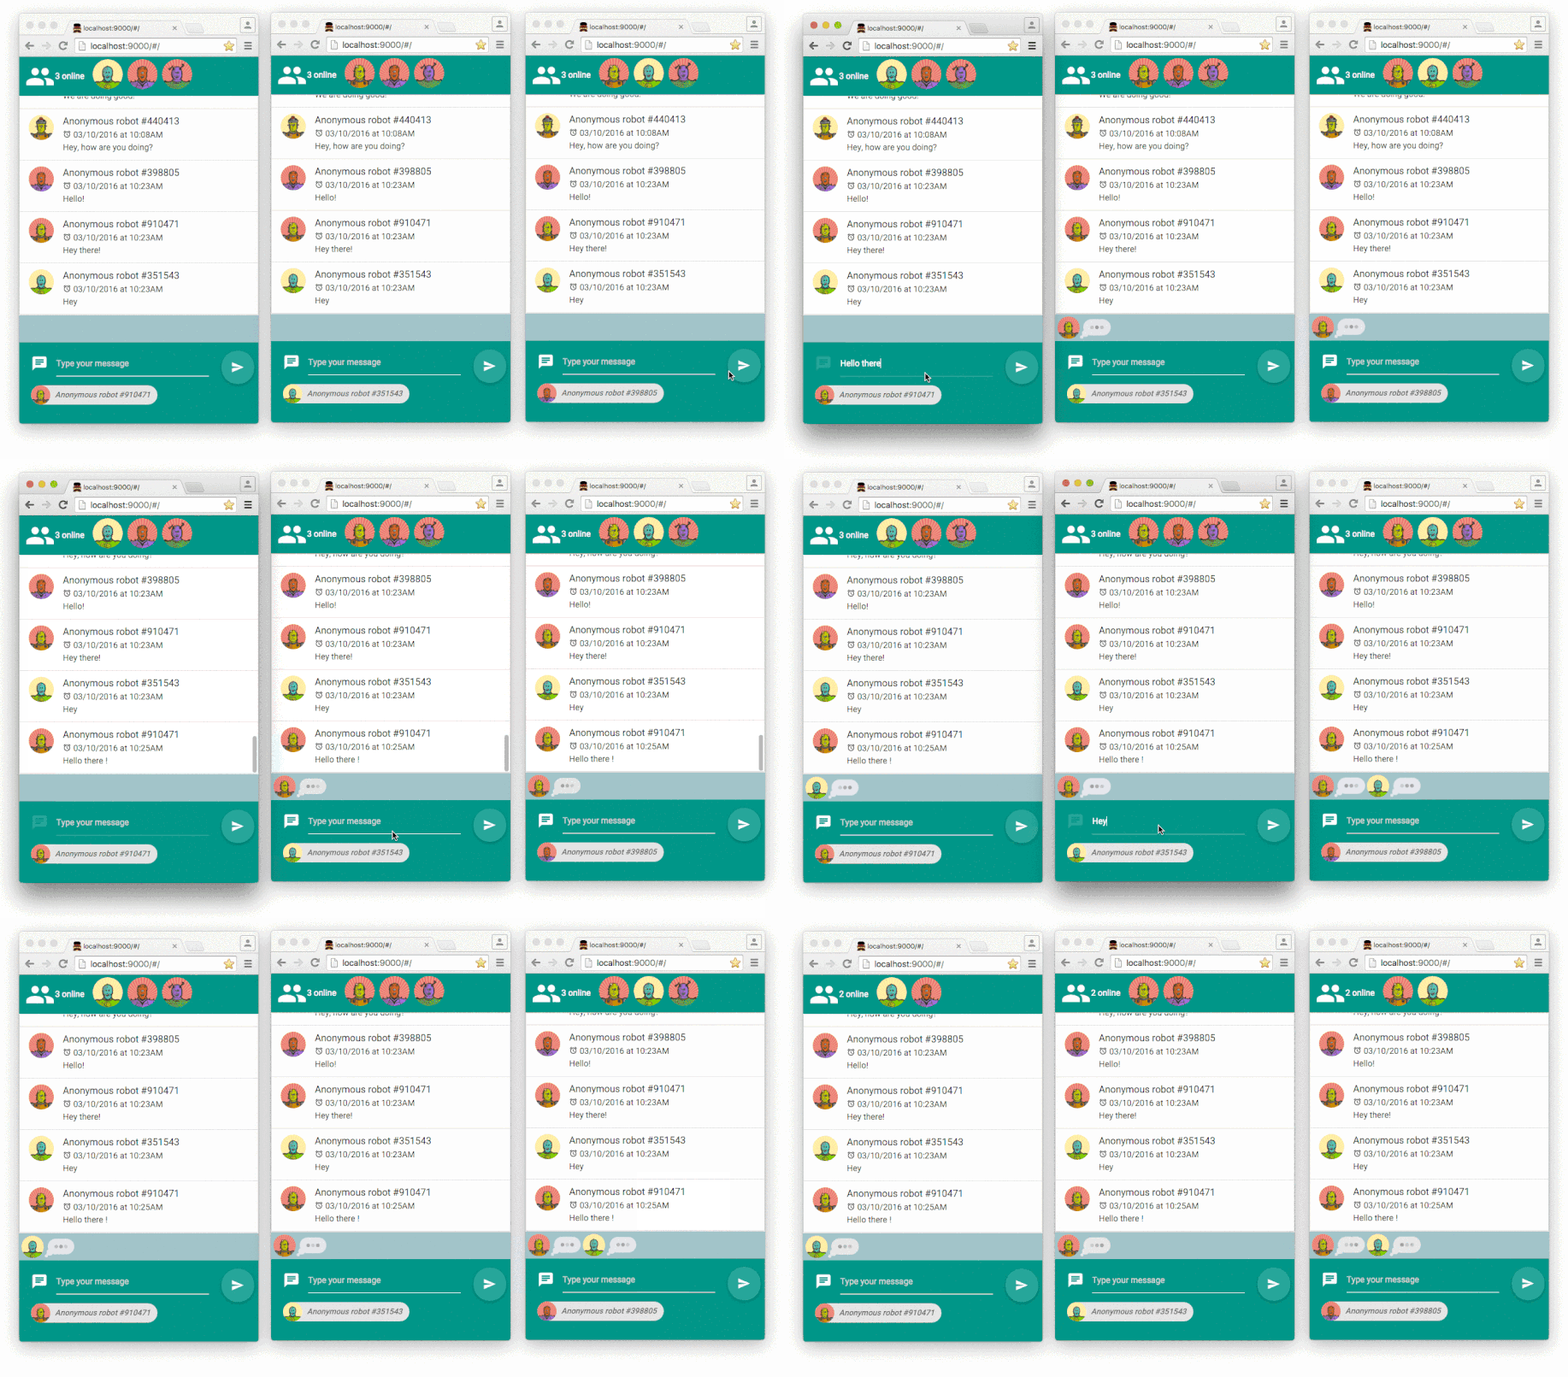
In this tutorial, we will add another feature, a realtime typing indicator that shows who is currently typing, using custom state attribute with the Presence API.
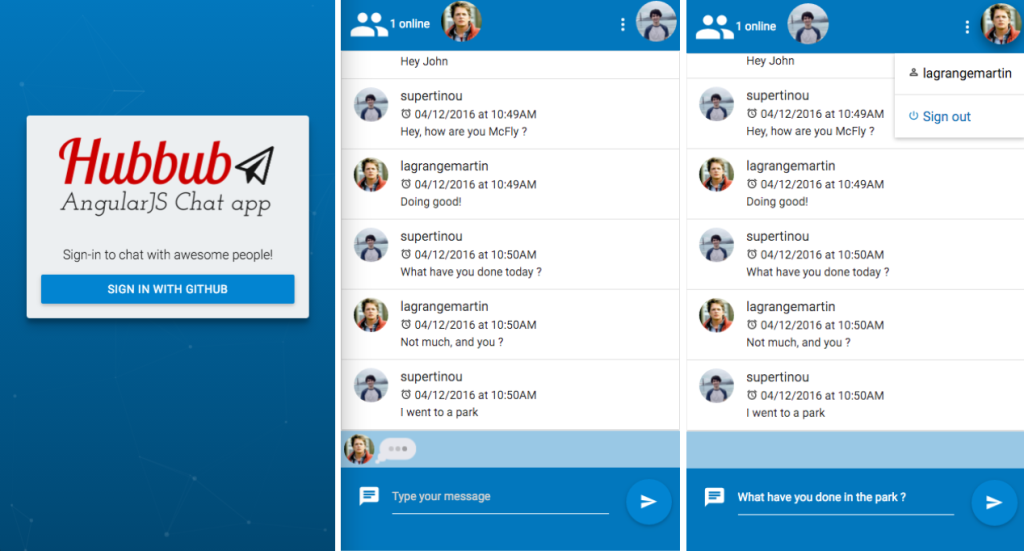
Here’s how our chat app will look like at the end of this tutorial:
 | Demo: The demo of the AngularJS chat app is available here |
 | Source code: The source code is available in the github repository |
Review: Application Architecture
In the last tutorial, we built a user list UI with an online-user-list component that get the online users from its User service.
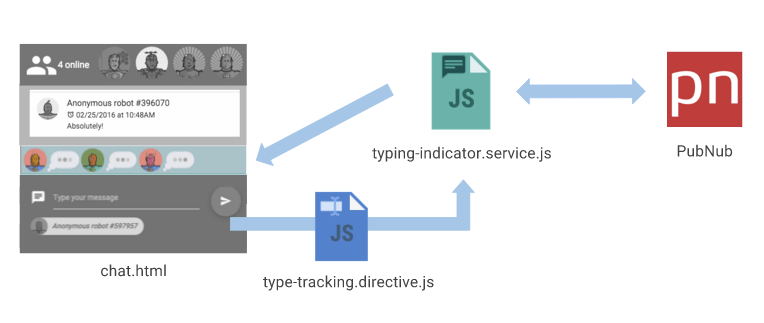
This time, we’ll be adding a realtime typing indicator to the chat app. Let’s introduce the typing-indicator-box component, which gets the list of users typing from the TypingIndicator service. The typing events will be tracked by a TypeTracking directive that will drive the typing-status changes to the TypingIndicator service.
Below is a picture of how the typing-indicator component, the typing indicator service, the type-tracking directive and PubNub will interact together:
If you haven’t followed Part 3: Building an AngularJS Chat App with a User Roster Using Presence API tutorial, get started by cloning the chat project in the state where we stopped.
Just type this command in the terminal:
PubNub Presence and Typing Indicators
You will need to first activate the PubNub presence add-on in your app, in order to add the typing indicator features in your app. Go to the Admin Dashboard. Select the app you are working on and go to Application add-ons to enable Presence.
When Presence is enabled, subscribing or unsubscribing to a channel generates a join, leave or timeout event, respectively. These events get broadcasted and you get notified in your AngularJS app. Also, there is another event called, state-change. This event is emitted when the custom state attribute is modified.
Typing Indicators Design

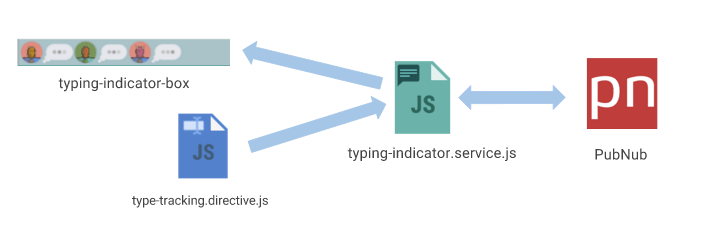
Let’s create the realtime typing indicator. This feature consists of a Typing indicator service, a TypeTracking directive and a typing-indicator-box component.
Creating the Realtime Typing Indicator Service
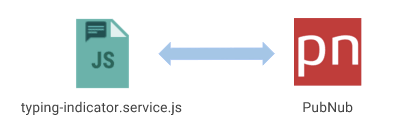
Through our TypingIndicator service, we will be able to :
- get the list of users typing updated in realtime
- notify people that the user started typing
- notify people that the user stopped typing
→ In the services folder, create a file called typing-indicator.service.js. This will store a boolean indicating if the current user is typing, also an array of the users that will be exposed to the outside through the getUsersTyping() method.
Here’s how the base of our service will look like:
Notifying everyone when starting or stopping to type
To achieve this, we will be using the PubNub.state() function specifying a state isTyping: true or false. Each time the state changes, a state-change event with the new state is fired to everybody in the presence callback.
→ Create a startTyping() and a stopTyping() function that will update the typing status of the user through the PubNub network.
→ Use the PubNub.state() method. You can wrap it in a debounce function specifying a time in order to prevent the state to be updated too many times during a short timeframe. This will save some network calls.
Updating our Typing Indicator service with new users typing
→ In the init function of our service, listen to the presence event and drive the presence event to an updateTypingUserList() method that will take care of adding or removing people from the typing user list.
Creating the Type Tracker Directive
Now that we have a TypingIndicator that allows us to notify everyone when the current user is starting or stopping to type, we will need to watch the value of the input of the message-form.
![]()
→ In message-form/messages-form.html, append the type-tracking directive to the input of the messageContent.
→ Then create a file called type-tracking.directive.js. It will be watching the value of the model linked to the input using an Angular watcher.
Below is what the base of our TypeTracking directive will look like:
Implementation
There are different ways to implement a typing indicator feature. In this tutorial, we will use a timer to schedule and reschedule the stopTyping notification to do the following:
- when the user first start typing in an empty input → notify and schedule the stop typing event in 5 seconds.
- when the user adds content in the input → reschedule the stop typing event to start in 5 seconds from now.
- when the user deletes all of the content of the field → execute the stopTyping event immediately.
Below is an animation to better understand this behavior:
![]()
→ Implement this behavior in the code of our Type Tracking directive.
→ You can set a stopTypingScheduler function in the controller by debouncing the TypingIndicatorService.stopTyping function with a specified time using the debounce utility method of the Lodash library.
By calling this debounced function, you will be able to schedule, reschedule or cancel the execution of the TypingIndicatorService.stopTyping function.
Here is the full code of our Type Tracking directive:
Creating the Typing Indicator Bubble UI
![]()
We’re almost at the end of our tutorial. Now that we have our TypingIndicator service setup, which notifies PubNub that you are typing and receiving the new users typing, let’s build the UI which will show it in our app.
→ In typing-indicator-box.directive.js, add the following content:
→ And its corresponding template in typing-indicator-box.html:
You can use this CSS code snippet to include a typing indicator in your app.
→ Then, in chat.html add the typing-indicator-box directive:
That’s it! You now have a complete chat app with previous messages and infinite scroll, user roster and typing indicator.
I hope you’ve enjoyed reading this tutorial.
If you have any questions or feedback, don’t hesitate to shoot me an email: martin@pubnub.com
In the next tutorial, we are going to implement OAuth 2.0 to authenticate users in our app and PubNub Access manager API to secure the communications through the PubNub channels.
See you in Part 5 !
Credits :
This tutorial is using icons from the Icons8 library.


